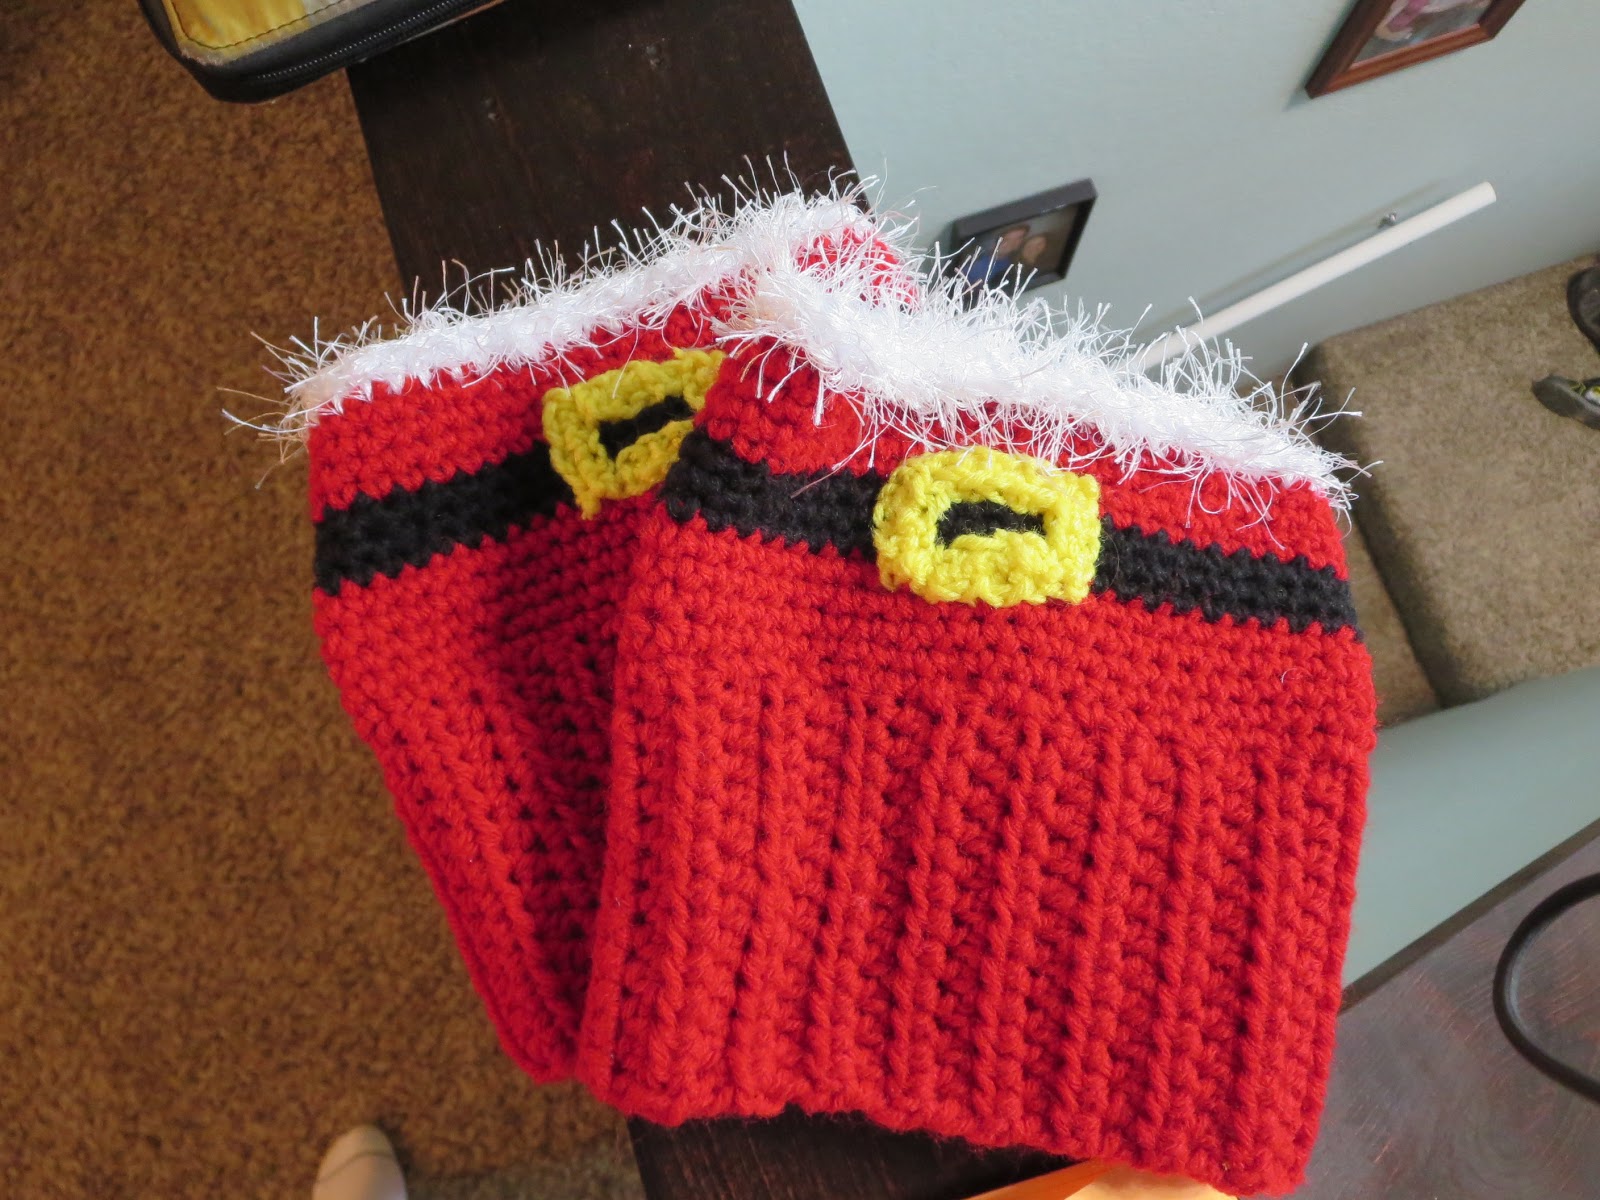
Made these up for a friend.
Measure the circumference of your calf.
Chain 13
HDC in the next stitch and across (12 HDC)
HDC each row until you reach the correct length for your calf. These were 14 inches.
Now that it can wrap around your calf slip stitch (or sew) the two ends together to form a tube.
On the top of your formed tube sc around and join with a slip stitch.
Do five rows of single crochet joining with a slip stitch and chaining one at the end of each row.
Change to black.
Do 3 rows of single crochet around.
Four more rows of sc in red.
Two rows of sc in furry white. Cut the tail of this long so you can weave it back through and make it more furry and not taller. I cut it 3 feet too long to add more fluff.
Weave in ends.
To make buckle:
With yellow yarn chain 6 and sc in next stitch across (5 sc)
Do this again.
Chain 5 and sc in next stitch across (4 sc)
Do this again.
Sew these onto the boot cuff forming a rectangle around the black stripe.
Showing posts with label crochet. Show all posts
Tuesday, November 21, 2017
Thursday, May 25, 2017
Graphgan Review Part I
In a moment that can only be considered pure insanity I decided to crochet or knit all my kids a new blanket for their beds for their birthdays this summer.
I fell in love with this graphgan concept and decided to make them all that way. Its insanity, I know that now.
So the first thing you need to make a graphgan is decide how to do it. There are four different ways that I have seen.
#1- Sew a million tiny granny squares about 1-2 inches each and sew them all together. I actually did this. I'm just not done yet. After starting and getting no where I realized it was stupid and found other ways to do the rest.
#2- C2C crochet. This is corner to corner crochet. Google it. Its amazing. This is how I made this blanket.
#3- Single crochet a pattern. Each stitch is one block on the graph.
#4- Knit a pattern. Each knit is one block on the graph.
After you have decided which technique to use (C2C!) you need to find a graph. There is a crazy Perler bead craze and there are a ton of pictures on the internet for these. That's what I used. I even merged several. There are also knitting graphs you can adapt as well.
Tuesday, April 25, 2017
Crochet Pattern- Flower Trivet
This is a single crochet trivet with a wheel spoke middle.
This was done with a triple crochet.
This was done with a half double crochet with a solid circle middle.
Here is the pattern:
Do a magic circle (look it up online) and chain five.
In the ring do a double crochet.
Chain two.
Repeat eight more times until you have 10 double crochets (including your five chain).
Pull the thread to tighten it up.
Slip stitch into the third chain from your beginning chain.
Do a single crochet into the next stitch.
Chain 21 and connect to the second stitch on the right side of the double crochet.
Repeat this until you have 10 rings. Slip stitch into the first stitch.
You can switch yarn anytime but I like doing it right here.
From here on out you can use a single, half double, or double crochet depending on how you want it to look. I think the single crochet is my favorite but it takes a lot longer.
Do a single (double or half double) crochet stitch in each stitch. When you get to the top of the loop (the 11th stitch) do three single (double or half double) stitches in the same stitch. When you finish a round slip stitch into the first stitch and chain one.
Then just keep going. You should have six rounds if you are using the single crochet, four-ish using the half double, and three if you are using the double crochet.
At some point your trivet will naturally start folding in on itself.
At this point I like to lay my trivet out and make sure it looks right. Fold all the petals the same direction. Then pick one petal and count six crochets from the point. Start there with new yarn.
Slip stitch into the stitch and chain one.
Do six single crochets and then three single crochets in the same stitch (point). Then another six single crochets down the other side.
This how you do the solid middle on the trivet.
Do a magic circle. Chain three.
.
Do 19 more double crochets in the magic circle.
Slip stitch into the top of the chain three.
Do one single crochet into the next stitch. Chain 21. Single crochet into the next stitch. Repeat until you have 10 petals.
Then do as above.
Thursday, December 1, 2016
Crochet Baskets
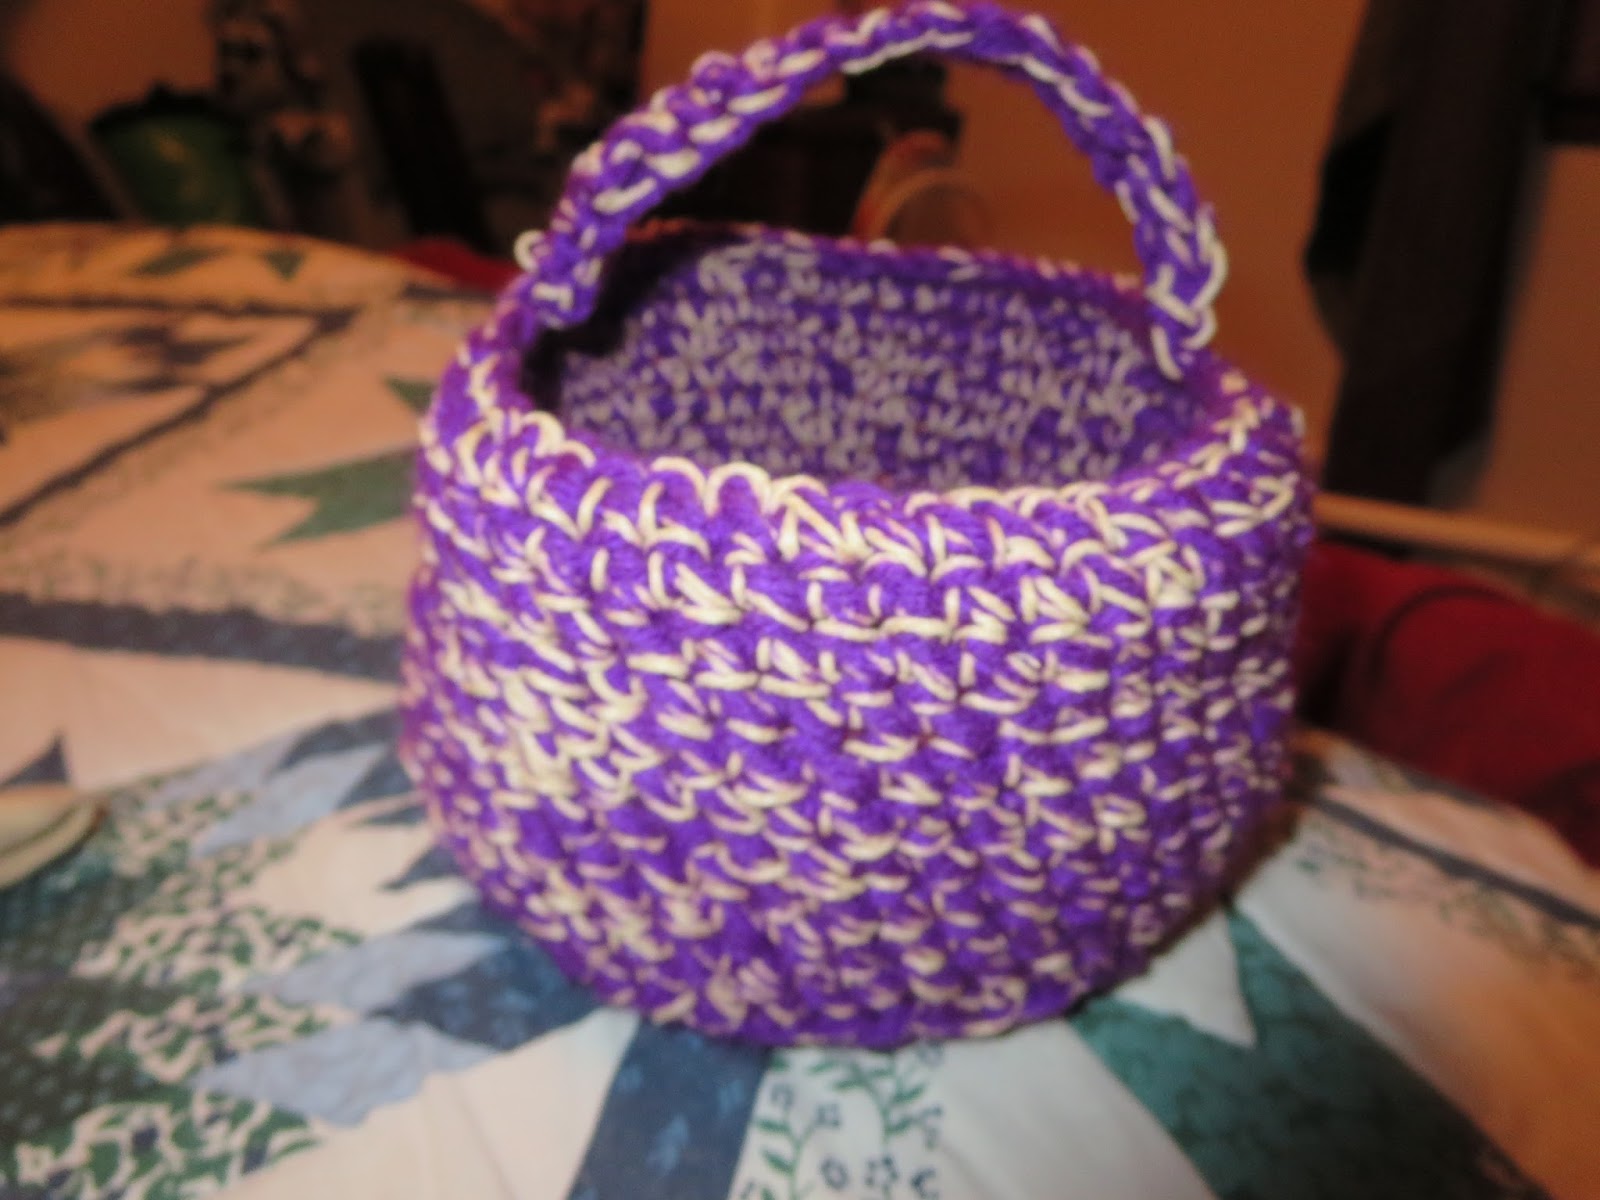
I have gotten obsessed with crocheting baskets. I found this Macrame yarn on clearance at Hobby Lobby and made these two baskets.
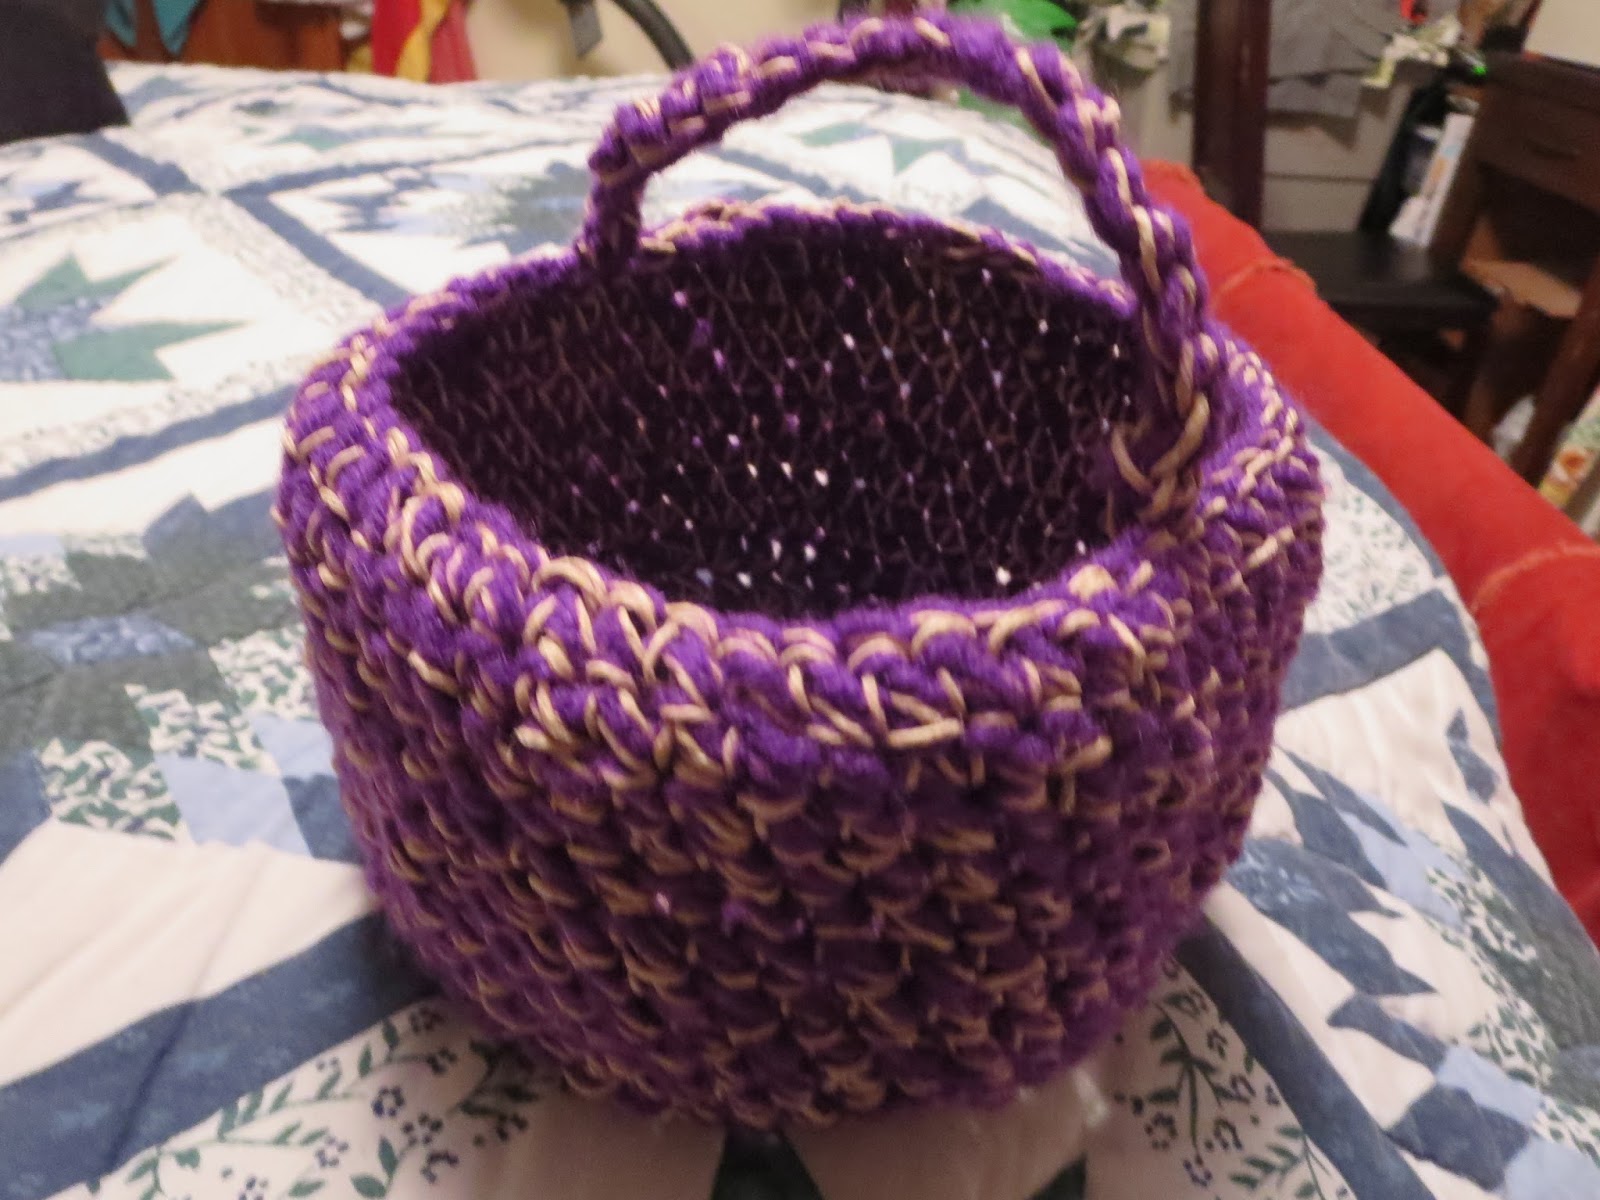
Then I used hemp rope and yarn together to crochet this...
I'm giving it to my daughter for her jewelry because it doesn't all fit in her jewelry box.
This is how you crochet rope and yarn together. Its a little tricky because sometimes you lose one of the strands.
I twisted it together like it was one strand and make sure you pull both strands through each time.
Here is my favorite basket pattern:
Chain 3
1- 7 hdc in 3rd chain from hook. Join with a slip stitch. (8 hdc)
2- Chain 2, 2 hdc in each stitch. Join with a slip stitch. (16 hdc)
3- Chain 2, hdc in same sitch, 1 hdc in next stitch (2 hdc in next stitch, 1 hdc in next stitch) Join. (24 hdc)
4- Chain 2, hdc in same stitch, 1 hdc in next 2 stitches.(2 hdc in one stitch, 1 in next 2 stitches). Join (23 hdc)
5- Chain 2, hdc in same stitch, 1 hdc in next 3 stitches. (2 hdc in one stitch, 1 in next 3 stitches). Join (40 hdc)
6- Chain 2, hdc in same stitch, 1 hdc in next 4 stitches. (2 hdc in one stitch, 1 in next 4 stitches). Join (48 hdc)
7- Chain 2, hdc in same stitch, 1 hdc in next 5 stitches. (2 hdc in one stitch, 1 in next 5 stitches). Join (56 hdc)
At this point you can stop or keep going depending on what circumference you want for you basket.
Just keep increasing by 1 stitch. So the next would be 2 in one stitch, 1 in the next 6, etc.
When you have achieved the right circumference continue as follows:
8- Chain 1, sc in the front loops only all the way around (this will create a ridge).
9- Chain 1, sc in both loops all the way around.
Continue doing this until you have the height you want.
To finish you can have choose between two different handles. In my first two baskets I did the two side handles
16- Sc in next 13 stitches (might have to adjust based on circumference), ch 10, skip next 10 stitches, sc in next 26 stitches, chain 10, skip next 10 stitches, sc in next 13 stitches. Join.
17- Sc in next 13 stitches, 12 sc in each chain. Sc in next 26 stitches, 12 sc in chain, sc in next 13 stitches. Join and finish off.
Weave in ends.
OR
Chain the desired length of handle and count until half way from the start of your chain. Join with a slip stitch into the half way point. Then I single crocheted in each chain to make it thicker.
Friday, March 18, 2016
Tuesday, October 27, 2015
Crocheted Leg Warmers
I needed leg warmers for my Senator Amidala costume for Halloween. I tried a few patterns but none of them fit right. So I kept unraveling and starting again. This was very frustrating so finally I just made up my own pattern.
Crocheted leg warmers
You need a H hook and a large ball of yarn depending on how tall you are.
You will need to adjust this pattern by your calf size and your calf length. I just kept trying it on over and over. My yarn wasn't very stretchy so you do need it to fit over your foot.
Abbreviations : ch = chain; dc = double crochet; hdc = half double crochet; sc =single crochet; st(s) = stitch(es); tr = triple stitch
Leg Warmers (make 2)
1- Chain 60 Slip Stitch into the first chain to join. Be careful to make sure the chain isn't twisted.
2-Chain 2, hdc in each ch around, slip st into last chain to join.
3- Chain 1, sc into each ch around, slip st into last chain to join.
4- Chain 2, hdc in each ch around, slip st into last chain to join.
5- Chain 3, tr in each ch around, slip st into last chain to join.
6- Repeat 5
7- Chain 2, hdc in each ch around, slip st into last chain to join.
8- Chain 1, sc into each ch around, slip st into last chain to join.
9- Chain 2, hdc in each ch around, slip st into last chain to join.
10- Chain 3, tr in each ch around, slip st into last chain to join.
11- Chain 2, hdc in each ch around, skip every sixth stitch, slip st into last chain to join
(Try it on and see if you need to do another round of skips or skip less often.)
12- Chain 1, sc into each ch around, slip st into last chain to join.
13- Chain 2, hdc in each ch around, slip st into last chain to join.
14- Chain 3, tr in each ch around, slip st into last chain to join.
15-Chain 2, hdc in each ch around, skip every sixth stitch, slip st into last chain to join
(Try it on and see if you need to do another round of skips or skip less often.)
16- Chain 1, sc into each ch around, slip st into last chain to join.
17- Chain 2, hdc in each ch around, slip st into last chain to join.
18- Chain 3, tr in each ch around, slip st into last chain to join.
19- Chain 2, hdc in each ch around, skip every sixth stitch, slip st into last chain to join
(Try it on and see if you need to do another round of skips or skip less often.)
20- Chain 1, sc into each ch around, slip st into last chain to join.
21- Chain 2, hdc in each ch around, slip st into last chain to join.
22- Chain 3, tr in each ch around, slip st into last chain to join.
23-Chain 2, hdc in each ch around, skip every sixth stitch, slip st into last chain to join
(Try it on and see if you need to do another round of skips or skip less often.)
24- Chain 1, sc into each ch around, slip st into last chain to join.
25- Chain 2, hdc in each ch around, slip st into last chain to join.
26- Chain 3, tr in each ch around, slip st into last chain to join.
27- Chain 2, hdc in each ch around, slip st into last chain to join. (You might need to skip here. I did not.)
28-34- Repeat 3-5 until an inch from desired length.
35- Chain 1, sc into each ch around, slip st into last chain to join.
36- Chain 2, hdc in each ch around, slip st into last chain to join.
37- Chain 1, sc into each ch around, slip st into last chain to join.
38- Chain 2, hdc in each ch around, slip st into last chain to join.
Now use a needle to sew in the ends.
Crocheted leg warmers
You need a H hook and a large ball of yarn depending on how tall you are.
You will need to adjust this pattern by your calf size and your calf length. I just kept trying it on over and over. My yarn wasn't very stretchy so you do need it to fit over your foot.
Abbreviations : ch = chain; dc = double crochet; hdc = half double crochet; sc =single crochet; st(s) = stitch(es); tr = triple stitch
Leg Warmers (make 2)
1- Chain 60 Slip Stitch into the first chain to join. Be careful to make sure the chain isn't twisted.
2-Chain 2, hdc in each ch around, slip st into last chain to join.
3- Chain 1, sc into each ch around, slip st into last chain to join.
4- Chain 2, hdc in each ch around, slip st into last chain to join.
5- Chain 3, tr in each ch around, slip st into last chain to join.
6- Repeat 5
7- Chain 2, hdc in each ch around, slip st into last chain to join.
8- Chain 1, sc into each ch around, slip st into last chain to join.
9- Chain 2, hdc in each ch around, slip st into last chain to join.
10- Chain 3, tr in each ch around, slip st into last chain to join.
11- Chain 2, hdc in each ch around, skip every sixth stitch, slip st into last chain to join
(Try it on and see if you need to do another round of skips or skip less often.)
12- Chain 1, sc into each ch around, slip st into last chain to join.
13- Chain 2, hdc in each ch around, slip st into last chain to join.
14- Chain 3, tr in each ch around, slip st into last chain to join.
15-Chain 2, hdc in each ch around, skip every sixth stitch, slip st into last chain to join
(Try it on and see if you need to do another round of skips or skip less often.)
16- Chain 1, sc into each ch around, slip st into last chain to join.
17- Chain 2, hdc in each ch around, slip st into last chain to join.
18- Chain 3, tr in each ch around, slip st into last chain to join.
19- Chain 2, hdc in each ch around, skip every sixth stitch, slip st into last chain to join
(Try it on and see if you need to do another round of skips or skip less often.)
20- Chain 1, sc into each ch around, slip st into last chain to join.
21- Chain 2, hdc in each ch around, slip st into last chain to join.
22- Chain 3, tr in each ch around, slip st into last chain to join.
23-Chain 2, hdc in each ch around, skip every sixth stitch, slip st into last chain to join
(Try it on and see if you need to do another round of skips or skip less often.)
24- Chain 1, sc into each ch around, slip st into last chain to join.
25- Chain 2, hdc in each ch around, slip st into last chain to join.
26- Chain 3, tr in each ch around, slip st into last chain to join.
27- Chain 2, hdc in each ch around, slip st into last chain to join. (You might need to skip here. I did not.)
28-34- Repeat 3-5 until an inch from desired length.
35- Chain 1, sc into each ch around, slip st into last chain to join.
36- Chain 2, hdc in each ch around, slip st into last chain to join.
37- Chain 1, sc into each ch around, slip st into last chain to join.
38- Chain 2, hdc in each ch around, slip st into last chain to join.
Now use a needle to sew in the ends.
Subscribe to:
Posts (Atom)